The last four classes I've been learning how to use photoshop. I will not lie, it has been VERY hard. The goal of this course is not only to help me improve my photography skills, but also teach me how to improve, calibrate and fix minor errors in my pictures to make my composition better.
The reason why I'd never used or even dare to learn how to use photoshop is because it's so confusing. As you open photoshop there are thousands of options and tools all around. With so many tools lying on your screen you don't know what to pick, so the first class I explored the different tools; this way that I could get to know all of them and their function. Little by little I became familiar with some and it made it easier to know what tool to use when I wanted to make a specific change.
The hard part when you don't have experience with Photoshop is know were to begin and what tools you should use, because really any tool could be used --even a little. The first step to be successful is to know where to begin, so here is a quick tutorial from what I learned in my class.
PHOTOSHOP TUTORIAL:
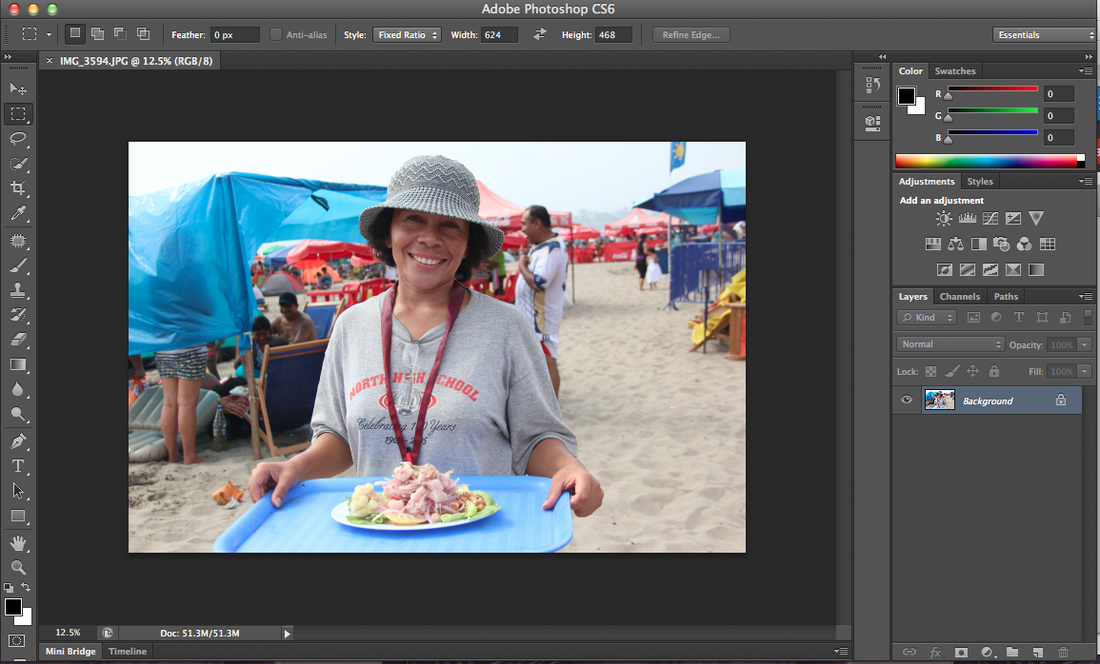
| 1. COPY♒ Personally I always want to keep a copy of the original picture because sometimes you make changes you don't like and you may want to revert to the original picture. So first make a copy of your picture. To make the copy drag the Background to the tool pointed with the arrow. | 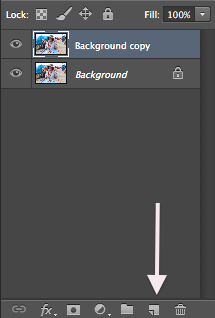
|
| 2. LEVELS☀ After making a copy the first thing that should be fixed is the light. There are many tools that correct the light, but start with the levels tool. Notice that as you click a new tool a new layer is added under the Background copy. Move the arrows under the graph to increase or lower the light. | 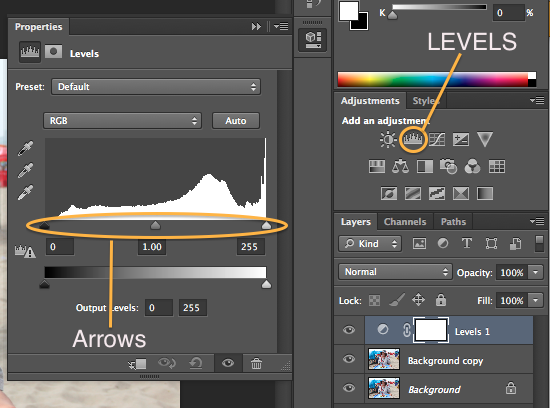
|
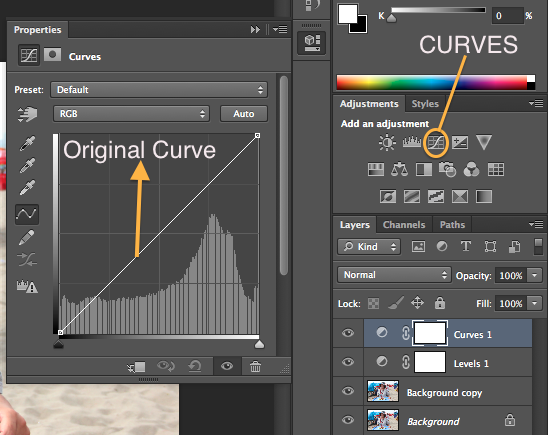
| 3. CURVE ⤴ Furthermore to adjust the light proceed to the new option, curves. Honestly, this is the biggest challenge as you edit your picture because even though it can change you image immensely it it hard to find the right curve. The curve allows you to manipulate the contrast and tones. You don't want to move too much away from the original line because you don't want to make drastic changes to the composition. The more natural and genuine the photos the better. |
|
| 4. EXPOSURE ⚡ ⚡ Then the next tool is called exposure and it also fixes the light in a picture. This tool helps you control the brightness, and how much light you want to add or eliminate from the photo. Never go the the extremes, overexposing a picture never looks good. Too much light takes away the details. On the other hand underexposing makes the picture too dark and it makes it black. | 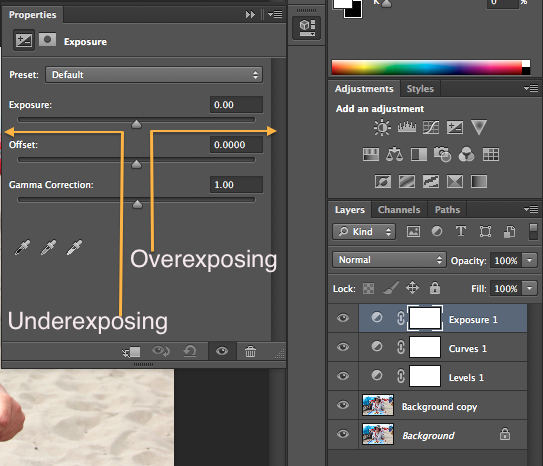
|
| 5. VIBRANCE and SATURATION ★ These tools help increase or decrease the vividness and sharpness of the photo. With these tools you can boost the colors equally and make them brighter. These two functions complement each other because vibrance helps boost the colors that are unsaturated. Therefore it makes the picture brighter without overexposing or adding too much light. | 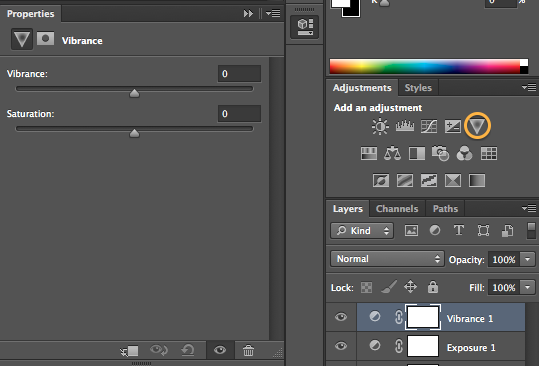
|
| 6. HUE ✂ The Hue/Saturation tool allows you to brighten or darken (enrich or dull) the colors in a picture. With hue you create a "color cast in an image". Here you can also manipulate saturation of the colors and add them more or less light. | 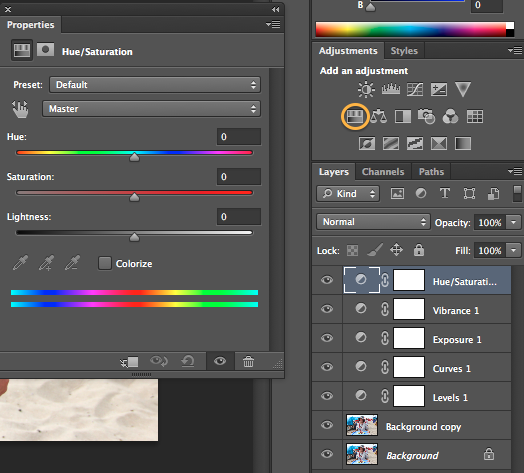
|
| 7. COLOR BALANCE ⚖ The color balance allows you to manipulate each color separately. Here you can adjust the intensity of specific colors to make them stand out. Sometimes photographers use this tool to slightly change the color of the image to one color; let me tell you that finding the right color is always the hardest part. | 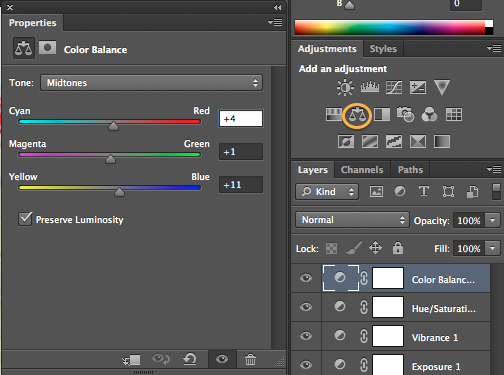
|
| 8. BLACK & WHITE ◐ The black and white tool is only used when you want to compose a black and white image. A color pallet appears, here you can adjust the intensity and brightness of each color so that it stands out more in the black and white effect. | 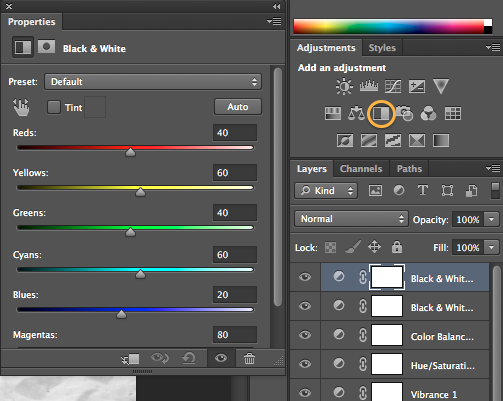
|
✄PHOTOSHOP✏
T R A N S F O R M A T I O N➫
Honestly after learning how to use photoshop I realized what an amazing tool it is. You can do so much with it once you understand the tools. I would not only recommend photographers or graphic designers to learn how to use it but everyone. The things you can do here are amazing, I was left with my mouth open win my teacher taught me stuff.
I still need to practice and gain expertise, but so far I believe that my base is strong. The more practice and the more I use this program the more I will learn and understand the different tools and controls.
I still need to practice and gain expertise, but so far I believe that my base is strong. The more practice and the more I use this program the more I will learn and understand the different tools and controls.
 RSS Feed
